Adding a Microsoft tenant
If you work for more than one organisation — for example as an accountant or a consultant — you can add more Microsoft tenants and switch between them.
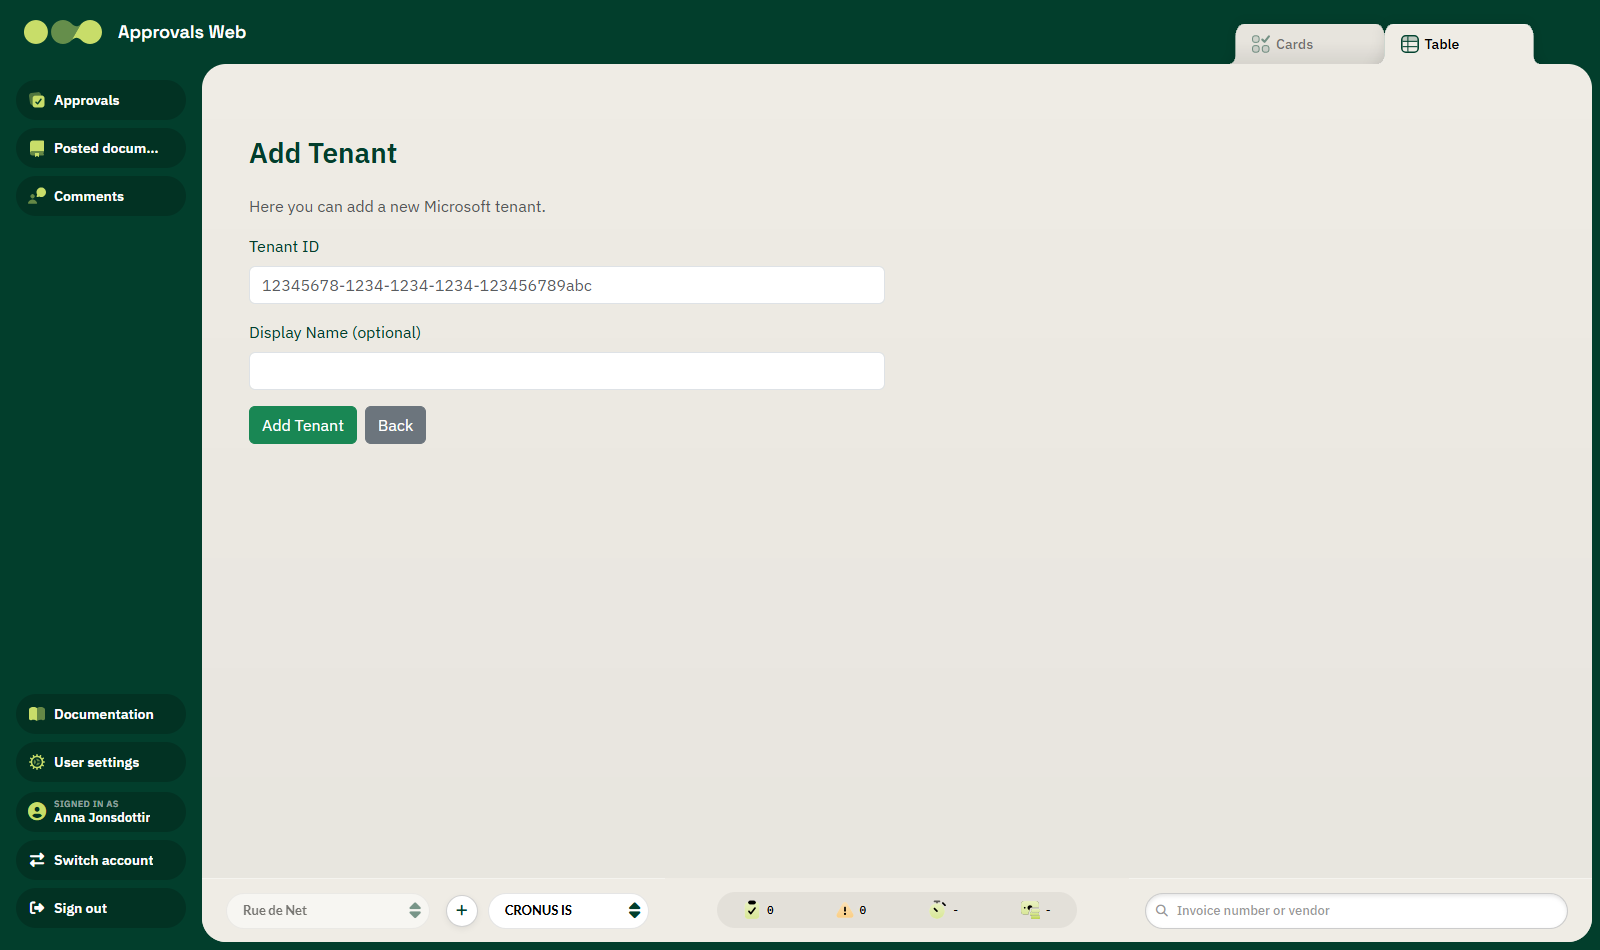
Adding a tenant
- Click the + button in the bottom bar, or go to the address
/add-tenant. - Enter the Tenant ID. This is a GUID, for example
12345678-1234-1234-1234-123456789abc. - Enter a display name if you like — it makes the tenant easier to recognise in the list.
- Click Add Tenant.
The site verifies that you have access to Business Central in that tenant. If consent is missing you are redirected to Microsoft's consent page.
Once the tenant has been added, the message Tenant added. appears and the list reloads.
Error messages
| Message | Explanation |
|---|---|
| Tenant ID is required. | The field was empty. |
| Invalid Tenant ID format… | The text is not a valid GUID. |
| Unable to verify access to the specified tenant… | You do not have the required permissions in Business Central in that tenant. |
| Sign-in required to add a tenant. | Your session has expired — sign in again. |
Switching between tenants
Use the left-hand button in the bottom bar. See Environments and companies.
Tenant access missing
If you no longer have access to a tenant, the Tenant access required page appears. There you can:
- Remove tenant — removes the tenant from your list.
- Switch tenant — choose another tenant from the dropdown.
If no other tenant is available, the message No other tenants are available. Contact your administrator. appears.