
Set up electronic documents with assisted setup
An administrator who sets up electronic documents for the first time gets the basic setup in one guide.
Purpose
The eDocs Assisted Setup guide takes you through the first setup of electronic documents: delivery sites, the rounding account, the default posting text and whether separate number series are used. Everything you enter is saved immediately, so you can exit at any time and continue later. Other settings are on the setup card.
Prerequisites
- A username and password from the message broker (Unimaze, InExchange or Deloitte).
- A G/L account for rounding.
- If you want separate number series, they exist or you create them in the guide.
Permissions
The user needs the EDOCS permission set. When the guide opens, it checks that the company has eDocs access in App Center.
Steps
-
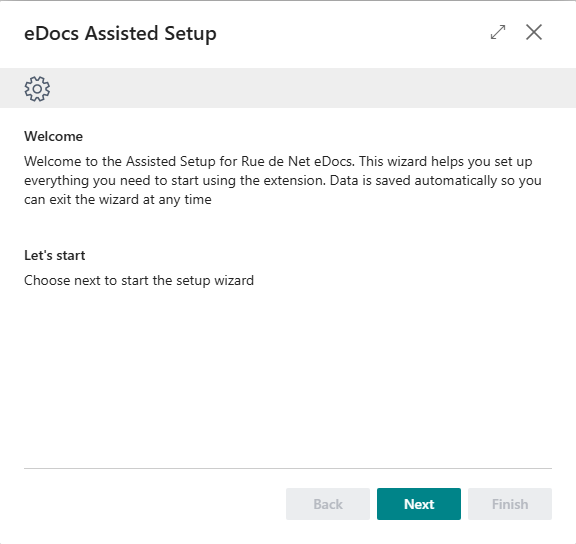
Search for Assisted Setup and choose Setup Electronic Documents from Rue de Net. The guide opens on the Welcome step.
When the guide opens, it creates the setup record if it doesn't exist, and the tax categories Z (0%), AA (11%) and S (24%) if they don't exist. See tax categories.
-
Choose Next. Delivery Site setup shows a list of delivery sites with the columns Code, Type, eDoc Default Standard and Authenticated. The list can't be edited.
-
Choose Create New Delivery Site. The eDoc Delivery Site Auth. dialog opens. Choose the Type and eDoc Default Standard, change the Code if you want, and enter the Username and Password. Choose OK. For Unimaze, InExchange and Deloitte, you're asked "Do you want to test the connection now?". Choose Yes to test the connection right away. Repeat for each delivery site. See delivery sites.
-
Choose Next. On eDoc Setup, choose:
- Invoice Rounding Account: the account that rounding differences are posted to.
- Def. Vendor Posting Text: the posting description for purchase invoices, for example
STANDARD. See posting text setup. - Special Number Series for eDocs: if selected, the next step appears. If not, the same number series are used for all purchase documents.
-
If you chose separate number series, choose Next and fill in Invoice Nos., Credit Memo Nos., Posted Invoice Nos. and Posted Credit Memo Nos. on eDoc Setup - Number Series.
-
Choose Next. Finished - Summary shows one line per part of the setup. See the table below.
-
Choose Finish. The guide is marked as completed and closes. Finish doesn't check that the setup is complete, so review lines marked ✖ before you choose Finish.

Example: Dæmi ehf. creates the delivery site UNIMAZE of type Unimaze WS with the BII standard, tests the connection, chooses a rounding account and STANDARD, and skips separate number series. The summary then shows only ✔.
Summary lines
The English summary lines don't all have a ✔ or ✖ mark. The Icelandic version marks every line.
| Line | Meaning |
|---|---|
| ✔ Delivery sites setup: | At least one delivery site exists. Their names follow. |
| ✖ No delivery site created. Please choose atleast one delivery site | No delivery site exists. Go back and choose Create New Delivery Site. |
| All delivery sites passed connection test | The connection test passed for all delivery sites. |
| One or more delivery sites not tested or failed connection test | Test the connection on the delivery site and correct the credentials. |
| Delivery sites not tested | No delivery site has been tested. |
| eDoc setup finished | The rounding account and posting text are filled in. |
| eDoc setup not finished | Invoice Rounding Account or Def. Vendor Posting Text is empty. |
| eDoc setup not finished - Missing EDI fields | A delivery site with the code EDI exists, but X400 PostBox or EDI Distributor is empty on the setup card. Fill in the fields there; the guide doesn't show the EDI step. |
| Special number series used for edocs | Special Number Series for eDocs is selected. |
| Same posting number series for all documents | Special Number Series for eDocs isn't selected. |
Verify
- Open eDoc Delivery Sites and check that the delivery sites exist and that Username Stored and Password Stored are selected.
- Open the setup card and check Invoice Rounding Account and Def. Vendor Posting Text.
Next, set the SSN fields and identifiers, assign delivery sites to customers and set up a job queue entry.