
Getting started
This page is for the administrator or consultant who sets up Customs for the first time. The assisted setup walks you through everything you need to send the first customs declaration. You can stop at any time and continue later, because your data is saved as you go.
Purpose
Dæmi ehf. imports goods and wants to send customs import declarations straight from Business Central. The administrator runs the assisted setup and then creates the first declaration from a purchase order.
Before you start
- Customs is installed and the company has a license from Rue de Net.
- You know which service the company uses to send EDI messages to customs and have a user with it.
- You have the company's X400 postbox and EAN ID.
- G/L accounts for import duties and customs VAT exist, or you know which ones to use.
Steps
-
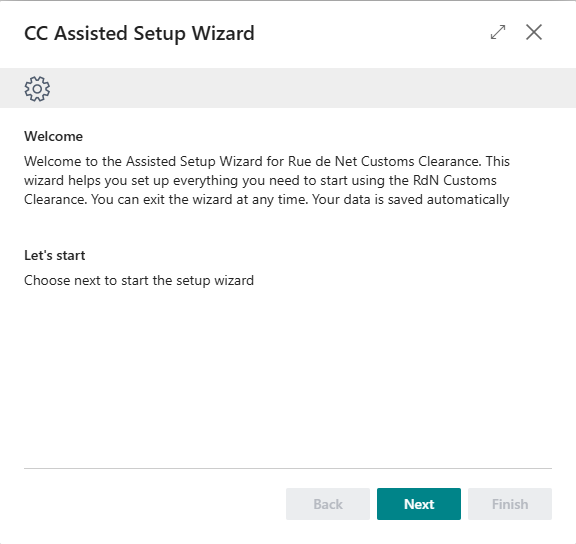
Search for Assisted Setup and choose Set up RdN Customs Clearance. Choose Next on the first page.
-
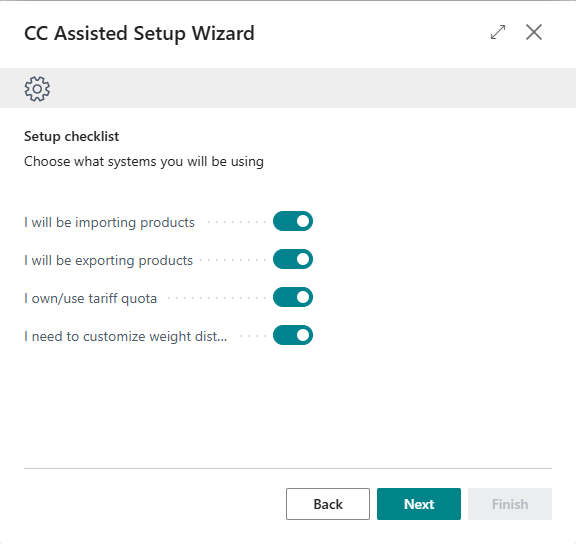
Setup checklist. Select what applies: whether the company imports, exports, is or uses a customs broker, uses tariff quotas and wants to customize weight distribution. Your answers decide which pages follow.
-
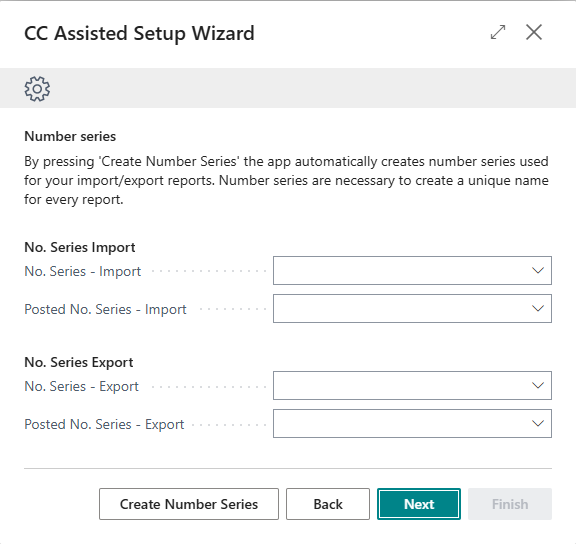
Number series. Choose Create Number Series. The system creates number series for import and export reports, depending on what you selected in the checklist.
-
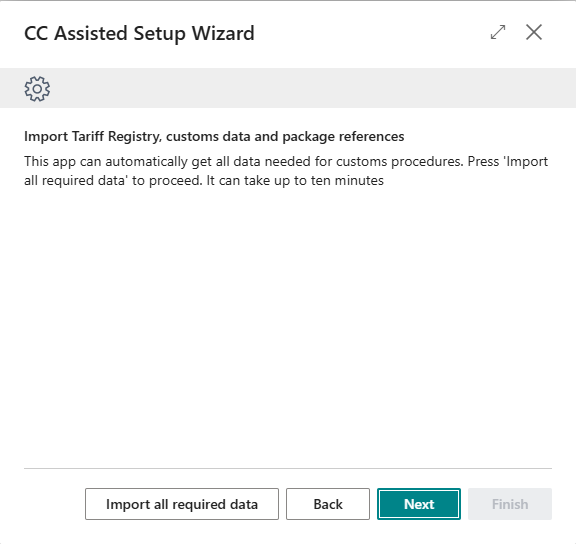
Import Tariff Registry, customs data and package references. Choose Import all required data. The system gets the customs master data, the tariff and the packaging reference table. It can take a few minutes. You can't continue until the import is done.
-
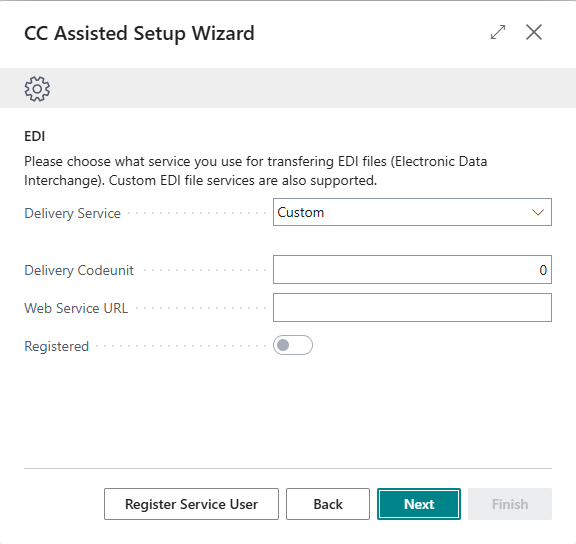
EDI. In Delivery Service, choose the service that sends the EDI messages. Then choose Register Service User and register the user with the service. Test Connection confirms that the connection works.
-
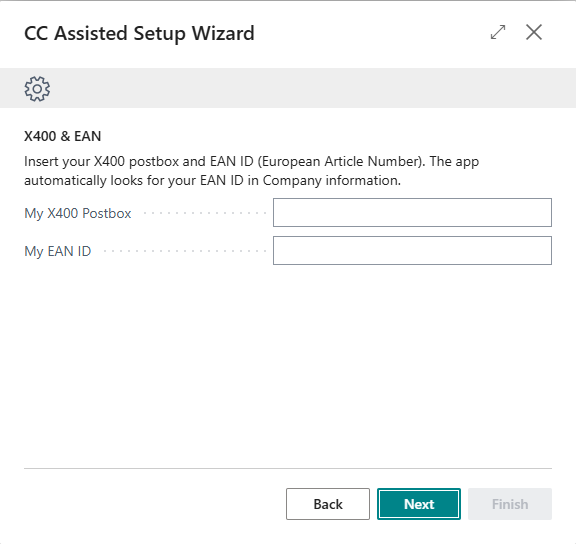
X400 & EAN. Enter the X400 postbox and the EAN ID. The system takes the EAN ID from company information if it's there.
-
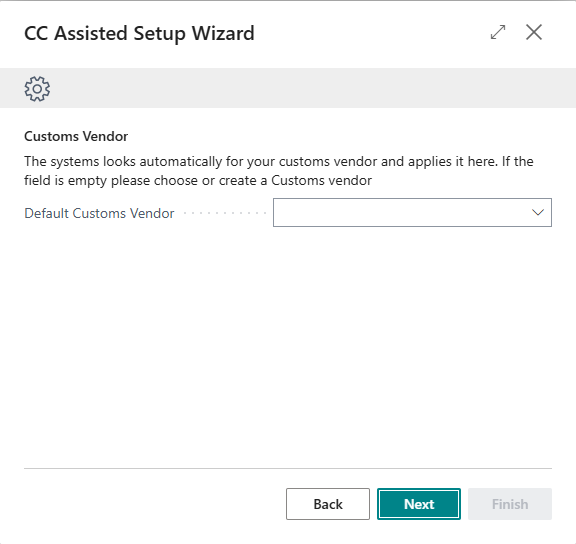
Customs Vendor. The system looks for the customs vendor itself. If the field is empty, choose or create it.
-
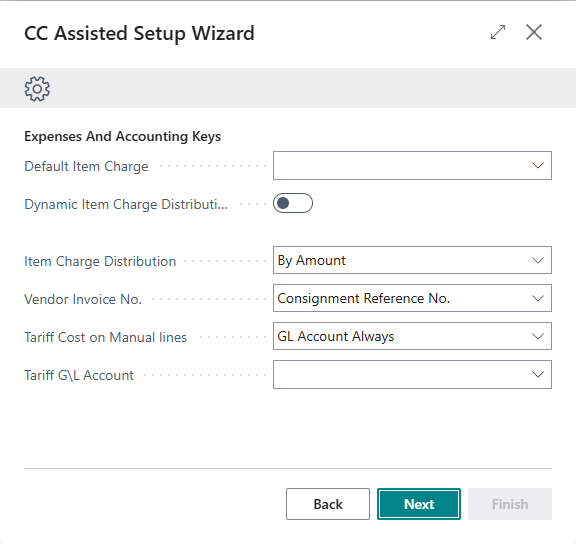
Expenses And Accounting Keys. Choose the Default Item Charge and how it's distributed to the items, the Vendor Invoice No., what happens When CUSTAR is received and the Tariff G\L Account. More in Customs settings.
-
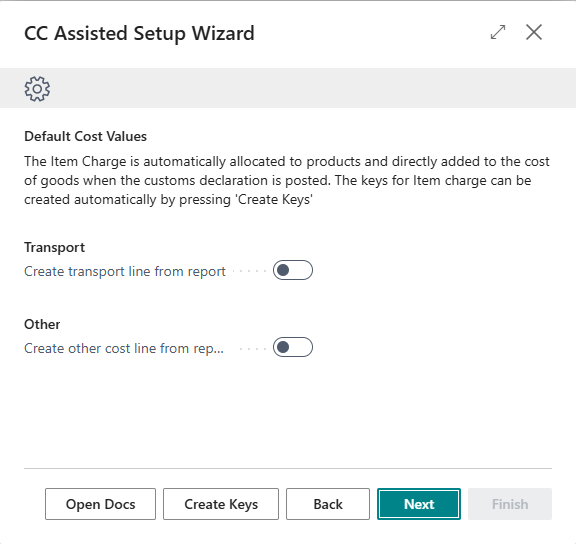
Default Cost Values. Choose Create Keys to create item charges for the duties. The item charges are distributed to the items and go into the cost when the declaration is posted. Then review them, see Item charges. Here you also choose whether the system creates purchase invoices for transport and other cost from the declaration, and which item charges and vendors to use.
-
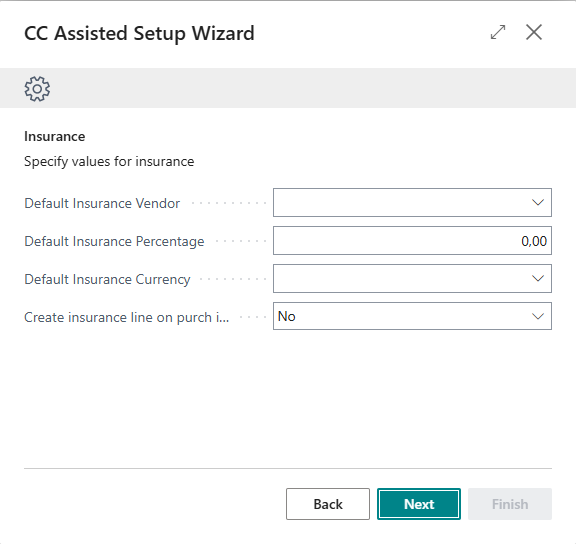
Insurance. Choose the insurance vendor, the default insurance percentage and currency, and whether the system creates an insurance purchase line from the declaration.
-
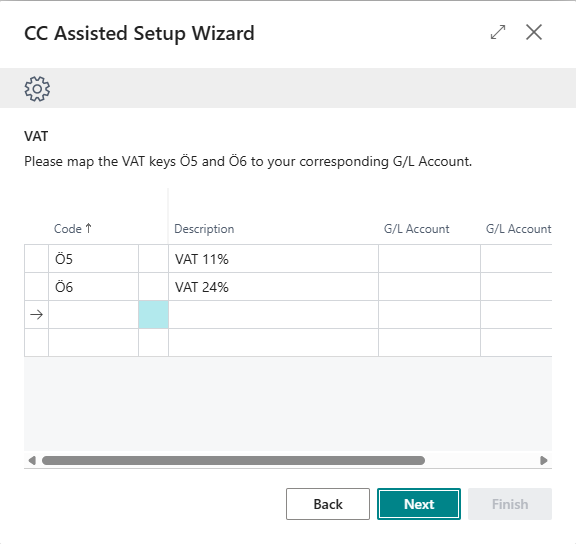
VAT. Map the VAT keys Ö5 and Ö6 to the right G/L accounts. The keys O5 and O6 are created automatically. They are used when systems can't handle Icelandic characters.
-
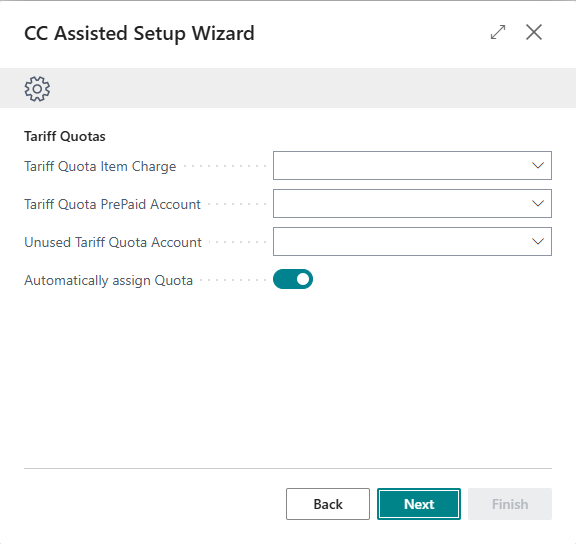
Tariff Quotas. This page only shows if you selected tariff quotas in the checklist. Choose the Tariff Quota Item Charge, Tariff Quota PrePaid Account and Unused Tariff Quota Account, and whether to Automatically assign Quota.
-
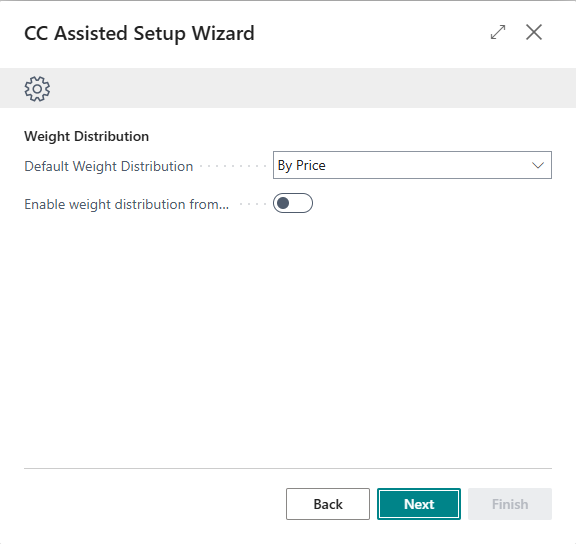
Weight Distribution. This page only shows if you selected weight distribution in the checklist. Choose the Default Weight Distribution.
-
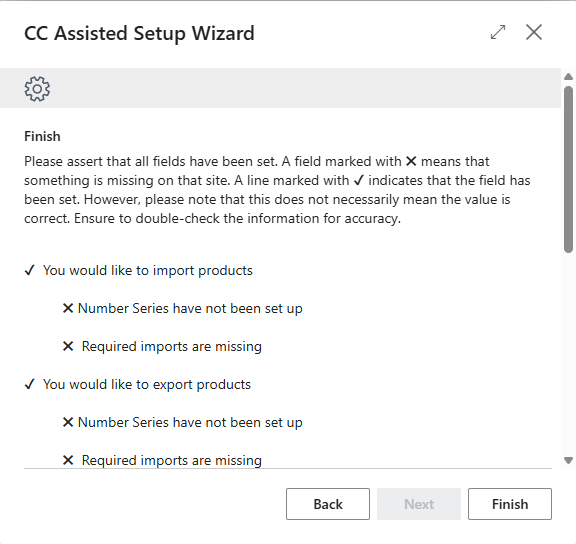
Finish. Review the summary. A line marked ✖ means something is missing on that page, and a line marked ✔ means the fields are filled in, but not necessarily correctly. Choose Finish.
-
Set up the job queue entries that get customs responses and exchange rates, see Job queue entries, and register the employees who sign the declarations, see Customs employees.
-
Create the first customs import declaration from a purchase order, see Create a customs import declaration. Check it for errors and send it, see Check and send.


Result
Customs is connected to customs, the master data and tariff are imported, and the first declaration is on its way. The response shows on the declaration once the job queue entry has fetched it.
Next, create an import declaration.
What can go wrong
- Next is disabled after the data import. Wait until the import is done. If it stops, check the URLs in Customs settings and import again.
- Test Connection fails. Check the user with the EDI service and register it again.
- The summary shows ✖. Go back to the missing page and fill in the fields. You can also finish them later in Customs settings.
See Help.