
Getting started
This page takes an administrator through the first setup of Approvals, from the assisted setup until the first purchase invoice is approved. Each step links to the page that describes it in detail. Follow the order, because later steps build on earlier ones.
Overview
This must be in place before you start:
- Licence. The extension is installed and the company has a licence from Rue de Net. Access is checked when Approval Setup is opened.
- Permissions. You have the permission set
RDN APPR. ADMIN(RdN Approvals - Admin). Approvers getRDN APPROVER(RdN Approvals - Approver). - Approvers. They are users in Business Central and have an email address in User Setup, so they get email.
- Email account. One exists in Email Accounts if the extension is to send email.
How it works
Approvals is built on the approval workflow in Business Central. The assisted setup imports the workflow, creates the extension's workflow responses and sets up email and comments. Approver groups are workflow user groups, and a vendor can have a default group, so invoices from that vendor get the group automatically.
Setup in the right order
-
Assign permissions. Give bookkeepers and approvers
RDN APPROVERand the administratorRDN APPR. ADMIN. Check: An approver can open Request to Approve List. -
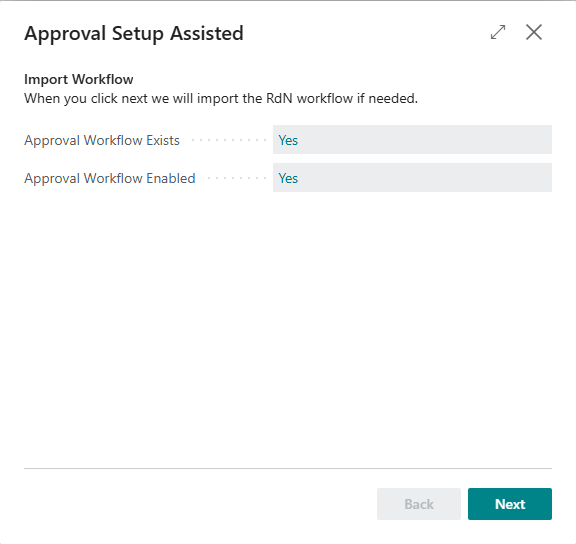
Run the general setup. Open Assisted Setup and choose General Setup for Approvals by Rue de Net. The steps are Import Workflow, Workflow, Email, Comments and Finish. In Workflow, RdN Workflow Category is PURCHDOC by default. In Email you choose the Email Language and when email is sent, and in Comments whether an approver must write a comment to reject (Force Rejection Comment). See Approval setup. Check: Approval Workflow Exists and Approval Workflow Enabled are selected, and the five workflow responses are all Yes.
-
Link an email account. Assign an email account to the scenario RdN Approvals Email. See Email. Check: The scenario RdN Approvals Email is assigned to the account.
-
Create approver groups. Open Assisted Setup again and choose Approval Groups setup for Approvals by Rue de Net. Create a group, for example PURCHASE, and add approvers to it with a Sequence No. See Approver groups. Check: The group is shown in Workflow User Group with its approvers.
-
Link groups to vendors. Choose the Approver Group on the card of vendors whose invoices always go to the same group. Check: A new purchase invoice for the vendor gets the Approver Group automatically.
-
Set up what applies. Exemption rules for recurring invoices that should skip approval, approvals for purchase orders in Approval setup, and the Approvals Web if approvers work outside Business Central.

First task
- Create a purchase invoice for a vendor with an approver group, or from a scanned image.
- Choose Send Approval Request. The status becomes Pending Approval. See Send for approval.
- The approver gets an email, opens Request to Approve List and chooses Approve. See Approve an invoice.
- When the last approver has approved, the invoice is Released and the bookkeeper posts it.
If the invoice doesn't go for approval or no email arrives, see Help.
Benefits
When the setup is done in this order, the first invoice takes the right route, and errors that come up later concern single documents rather than the basic settings. A missed step shows quickly: without workflow responses nothing can be sent for approval, without an email account approvers get no email, and without an approver group the invoice stops when it is sent.